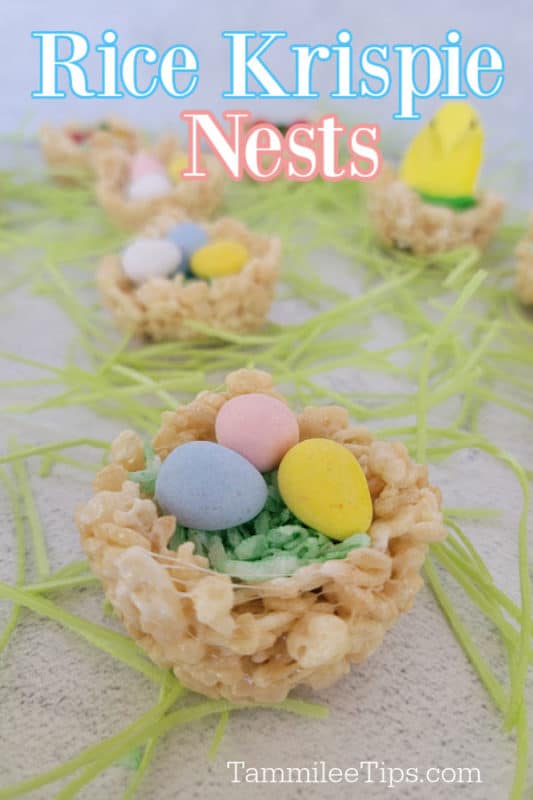
Easy no-bake Easter Rice Krispie Nests are the perfect fun spring dessert. They take minutes to prepare and you can decorate them in so many different ways.
Easter Rice Krispie Nests
The sun is finally out in Spokane and I am so excited to start Spring baking. It feels like we are crawling out of a really long winter and finally getting a bit of sunlight.
Earlier this week I shared the super cute Bunny Cupcakes I made and now we are sharing these epic Rice Krispie Easter Nests.
I am a huge fan of Classic Rice Krispies Treats. They are one of the easiest sweet treats to whip up in minutes.
Now that Easter is only a couple of weeks away I have been diving into all the Easter desserts I can think of. Later this afternoon I am going to start working with Peeps and see what we can come up with.
Maybe some chocolate-dipped Peeps or Peeps Rice Krispie Treats. So many ideas to work on and see how they turn out.
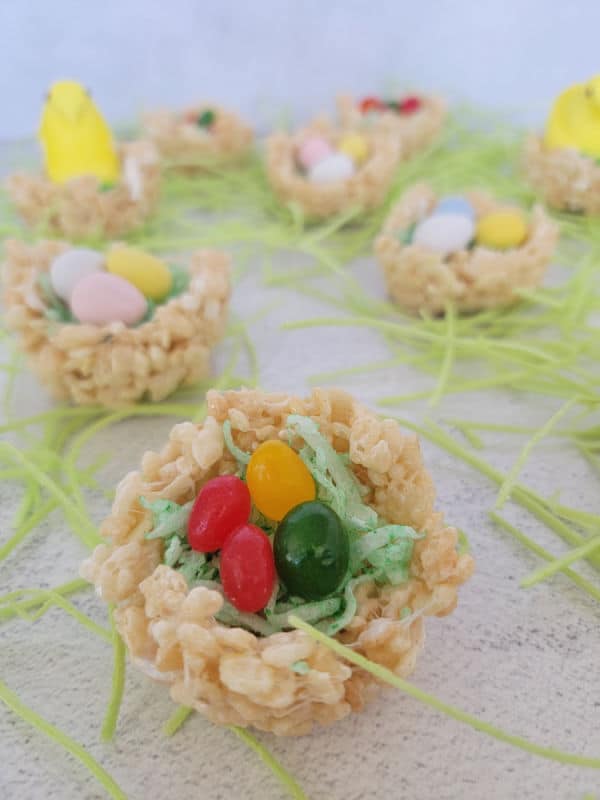
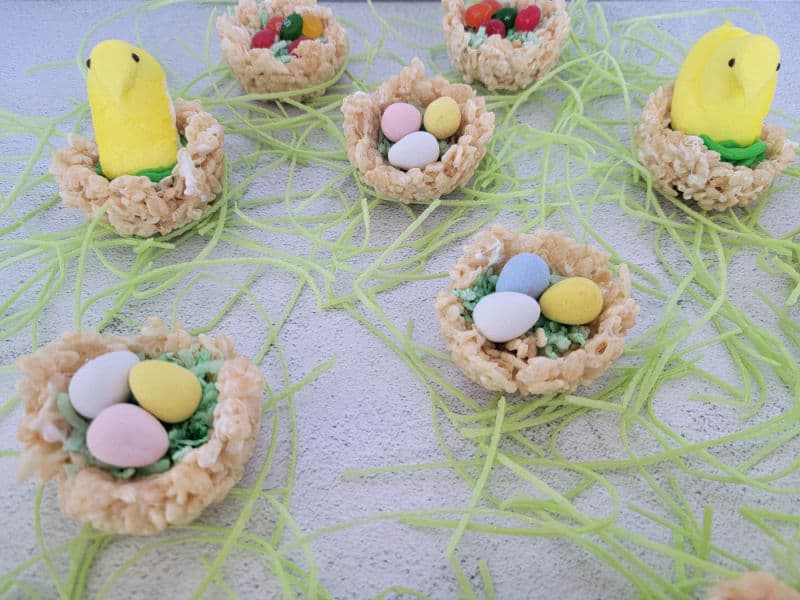
Until then these Rice Krispie Treat bird nests are so fun to personalize. You can decorate with so many fun Easter Candies including jelly beans, Cadbury Mini Chocolate Eggs, mini chocolate Easter eggs, or Easter M&Ms.
I like to serve these Rice Krispie Nests with and without grass in them. That way everyone can choose how much sweetness they want in their treat.
These work great for little ones to decorate. You can set up individual plates and bowls with the different decoration options and let them decorate their own Easter krispie nests.
Ingredients
- Rice Krispies rice Cereal
- Butter
- Mini Marshmallows
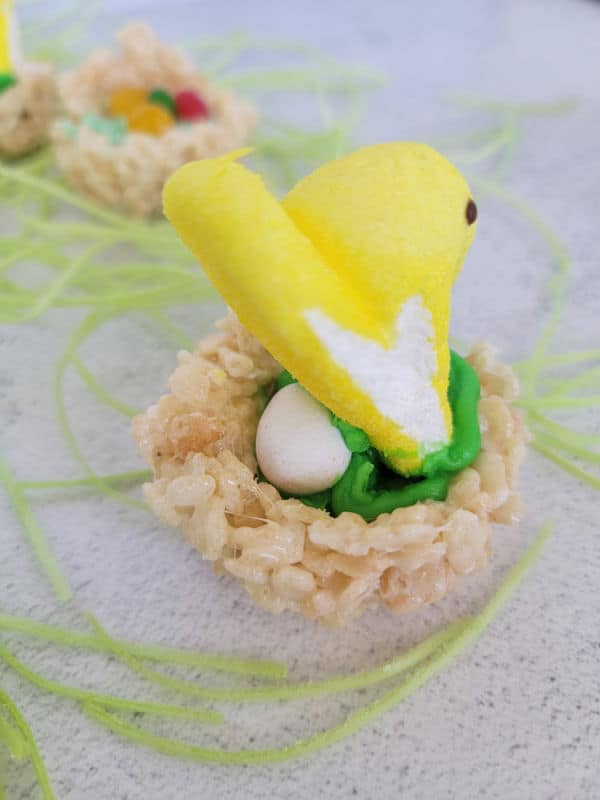
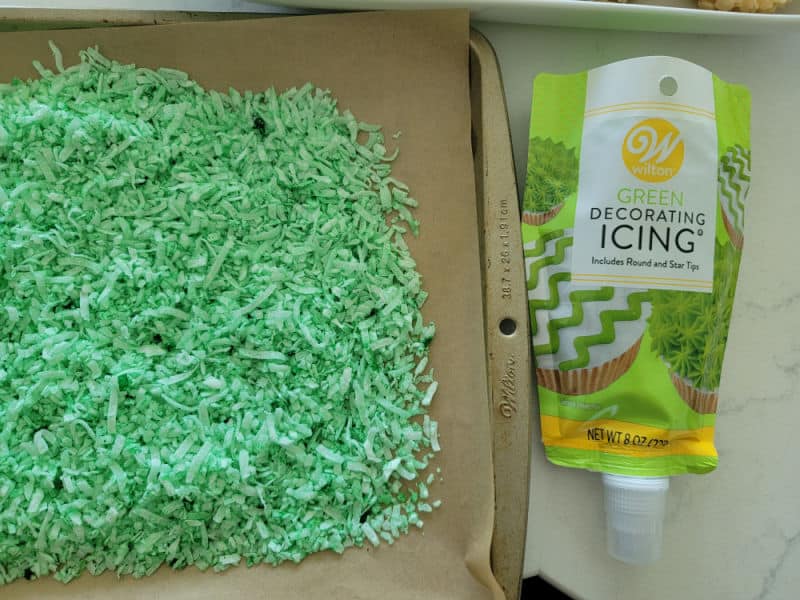
Grass - We used a combination of coconut grass and Wilton green Decorating Icing.
Decorations - Jelly Beans, Cadbury Mini Eggs, Easter M&Ms, Peeps
Equipment Needed
- Large Pot
- Wooden Spoon
- Muffin Pan
- Cookie Scoop
- Non-stick cooking spray
We use a cookie scoop to form the bowl shape of these Rice Krispie Easter Nests. You could also use the back of a spoon, a muddler, or your hands.
We used the gorgeous blue Wilton Texturra Performance Non-Stick Bakeware which was the perfect pop of spring color and fun.
How to make Easter Rice Krispie Nests
Step 1 - Spray non-stick spray on the muffin pan so the treats do not stick.
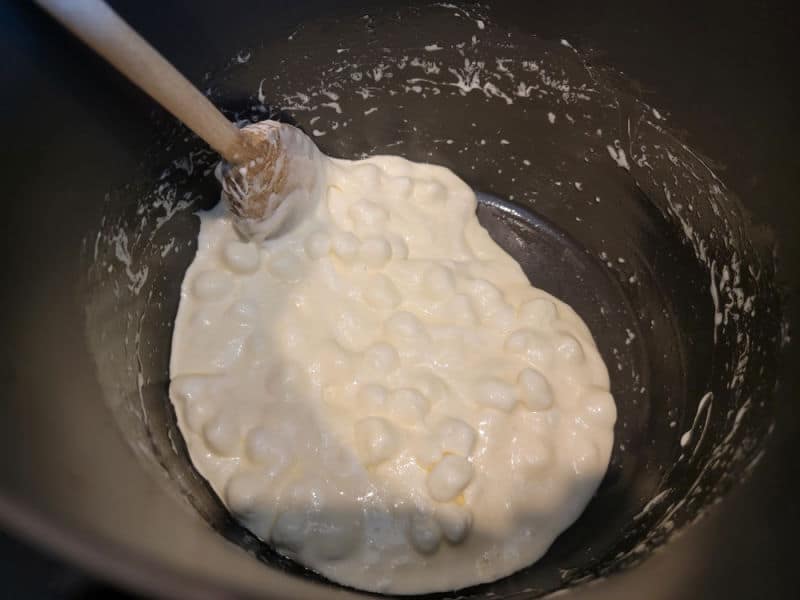
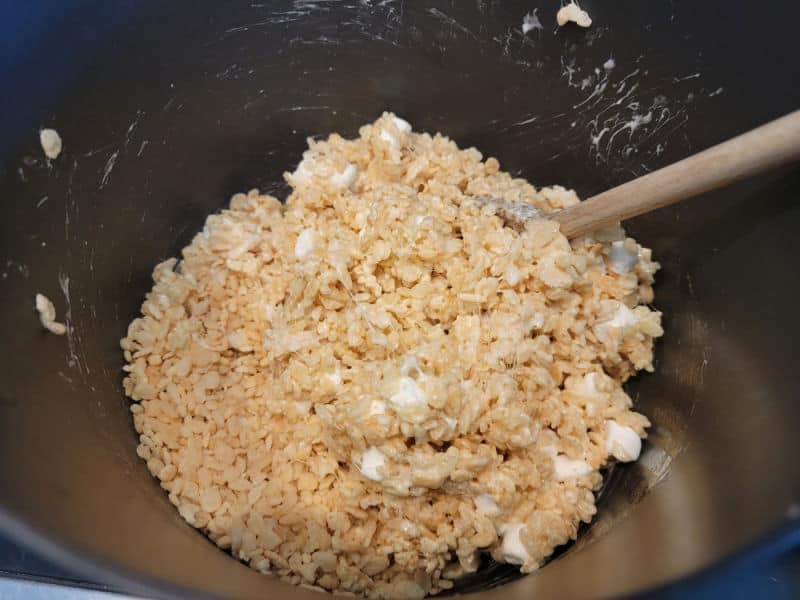
Step 2- Melt butter until completely melted, add in mini marshmallows and stir until butter and marshmallows are smooth, add in rice krispies cereal and mix together.
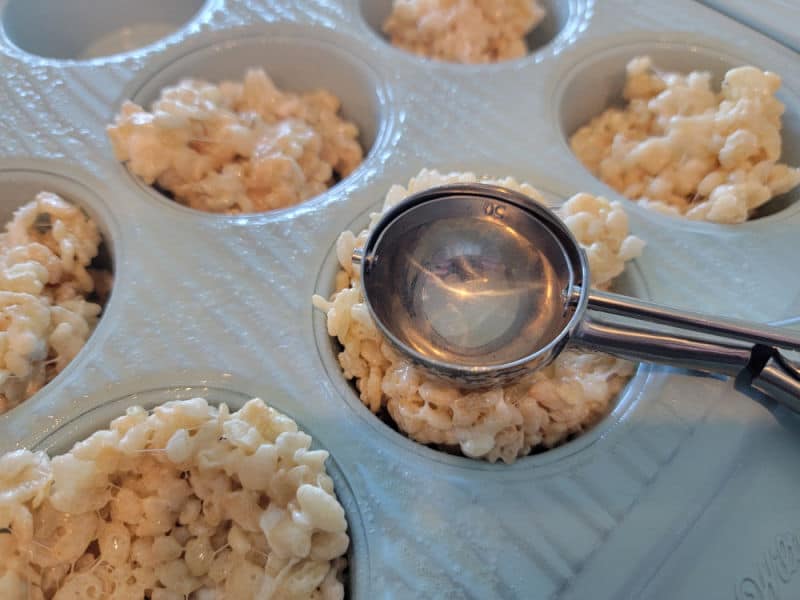
Step 3 - Add a large spoonful of rice Krispie treat mix to each opening in the muffin pan. Use the cookie scoop to form the Rice Krispie Treats Birds Nests.
Allow to cool before decorating. Place on wax paper or parchment paper so they are easy to move.
Recipe Tips
You can size the Rice Krispie Birds Nest to be large or small depending on how you are serving them.
Don't worry if your birds nests are a little wobbly or misshapen that is part of the fun. They are unique and still taste amazing.
For a fun look at green food coloring to the marshmallows while they are melting to turn the Easter treats green.
You can also make microwave rice krispie treats and use them for this Easter treat just make sure to use a microwave safe bowl.
To make peanut butter nests add in a half of cup of peanut butter to the mixture.
Coconut grass can be added for a fun decoration.
If you are adding in Peeps to the Rice Krispie nests and they won't sit the way you want them to you can add a mini chocolate egg behind them. We used Wilton Icing with the Peeps to hold them in place.
Great Easter Recipes
Check out all of our Easter Recipes
Do you love recipes? Check out our copycat recipes, dessert recipes, and our CrockPot Recipes.
Follow Tammilee Tips on MSN, Facebook, Instagram, Pinterest, and Twitter for all of our recipe posts.
Easter Rice Krispie Nests
Ingredients
- 4 Tablespoon Butter
- 10 oz Mini Marshmallows
- 6 cups rice krispies
- Jelly beans, mini chocolate eggs, coconut grass Decorations
Instructions
- Melt butter in a large pot until completely melted. Stir in mini marshmallows and stir until melted
- Add in rice krispies cereal and stir until well combined.
- Spray a muffin pan with non-stick cooking spray and shape into nests. Use a cookie scoop or spoon to form the nests.
- Let cool before decorating.
Kitchen Tools
- Muffin Pan
- Wooden Spoon


Leave a Reply